Blog
1. Create the blog post
Step 1 - Log in to your WordPress Administration Panel (Dashboard).
Step 2 - Click the 'Posts' tab.
Step 3 - Click the 'Add New' sub-tab.
Step 4 - Start filling in the blanks: enter your post title in the upper field, you can add the content of the post by us elementor to create.
Step 5 - As needed, select a category, add tags, and fill in the meta setings below the editor.
Step 6 - Upload a featured image for your post.
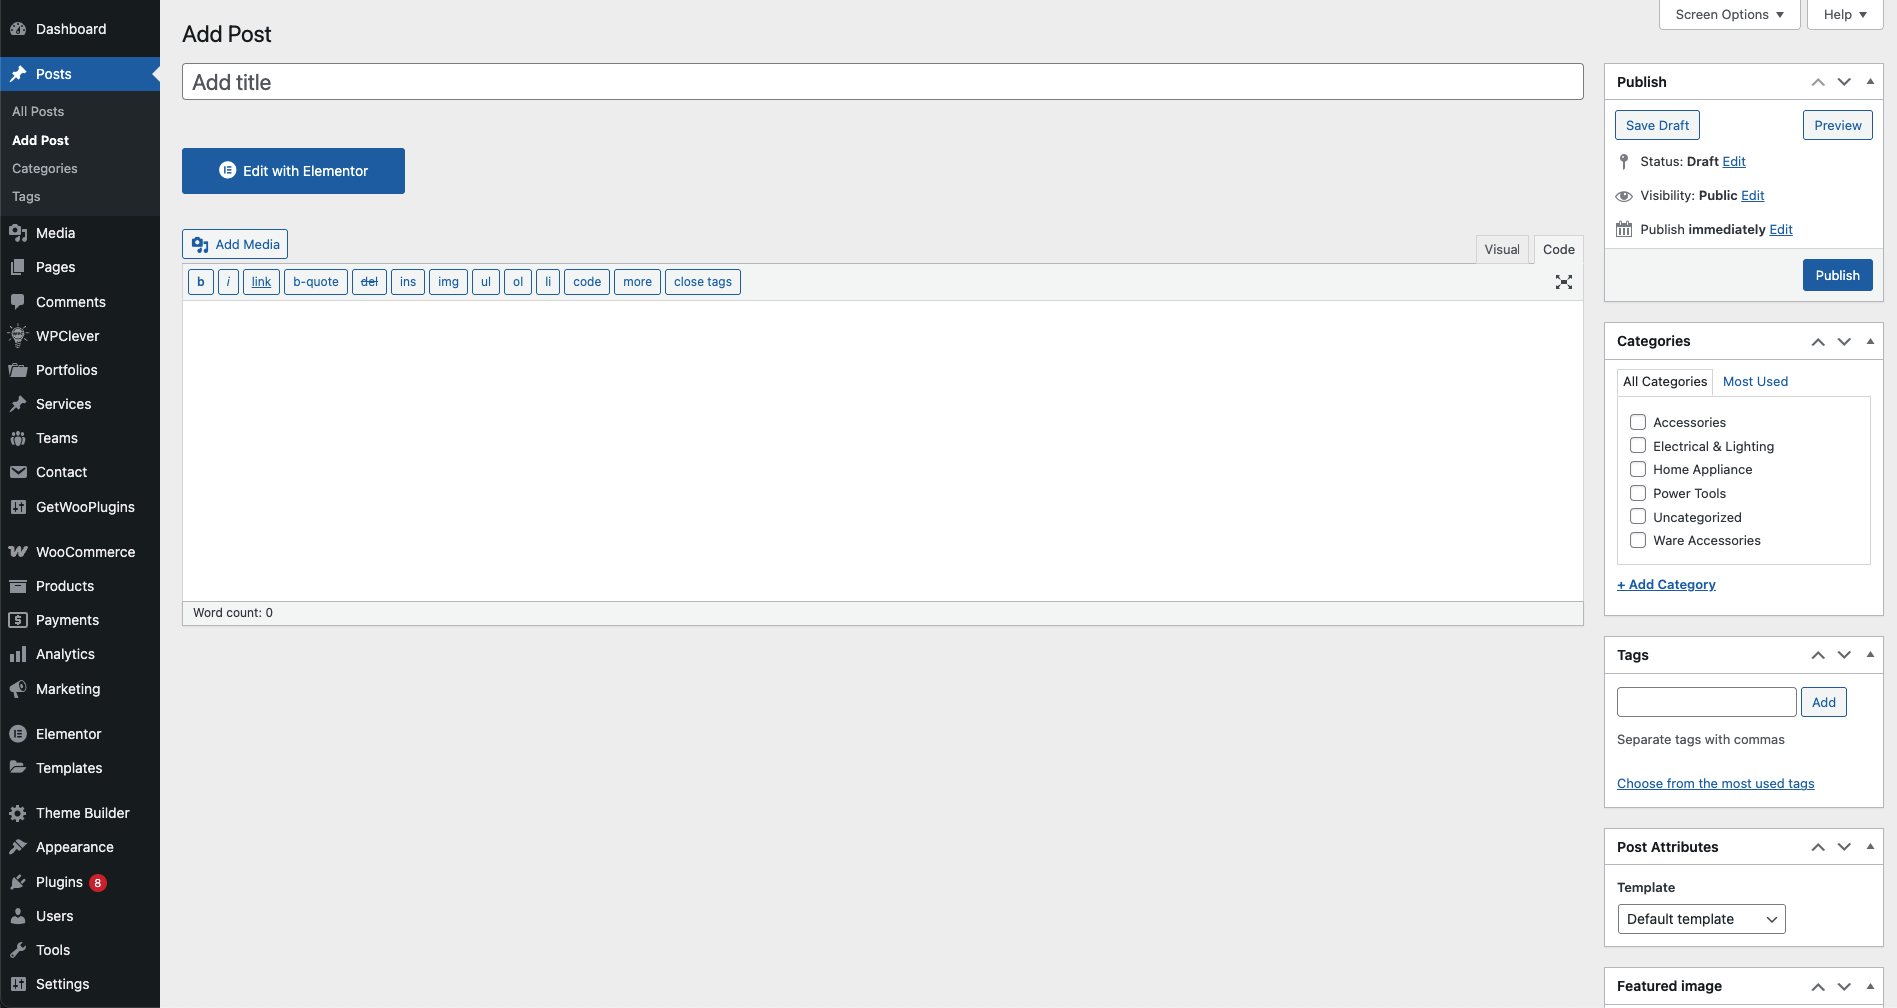
Step 7 - When your post is ready, click Publish.
2. Manage Posts
Navigate to Posts → All Posts
You can see all information on your blog post, add new, edit or delete them.
3. Create a Blog Page
Step 1 - Log in to your WordPress Administration Panel (Dashboard).
Step 2 - Click on Pages > Add New.
Step 3 - Give your page a name then Change the Editor to Backend Editor ( you need to have the Elementor plugin activated ).
Step 4 - Click on the Edit with Elementor button
Step 5 - Select the WordPress widget.

Front end look like

4. Blog Global Configure
Step 1 - From your admin Dashboard navigate to : Apperance > Customize > Blog
Step 2 - You can set Sidebar position

Step 3 - Click Publish to save.
5. Archive & Category Page
Step 1 - Go to WordPress Dashboard > Theme Builder > Archive.
Step 2 - Select Add New Header or Footer
Step 3 - Name the Builder
Step 4 - Choose the “Type of Template” whether you want to create a Archive.
Step 5 - Select target locations with the “Display On” where the template should appear.
Step 6 - Set “User Roles” for whom the template will be displayed.
Step 7 - Click ‘Edit with Elementor’.

Step 8 - Drag or drop the element that you want to build your template style with a limited layout

After all, click "Publish" for settings.
Last updated