Breadcrumb
Step 1 Go to WordPress Dashboard > Appearance > Breadcrumb > Add New
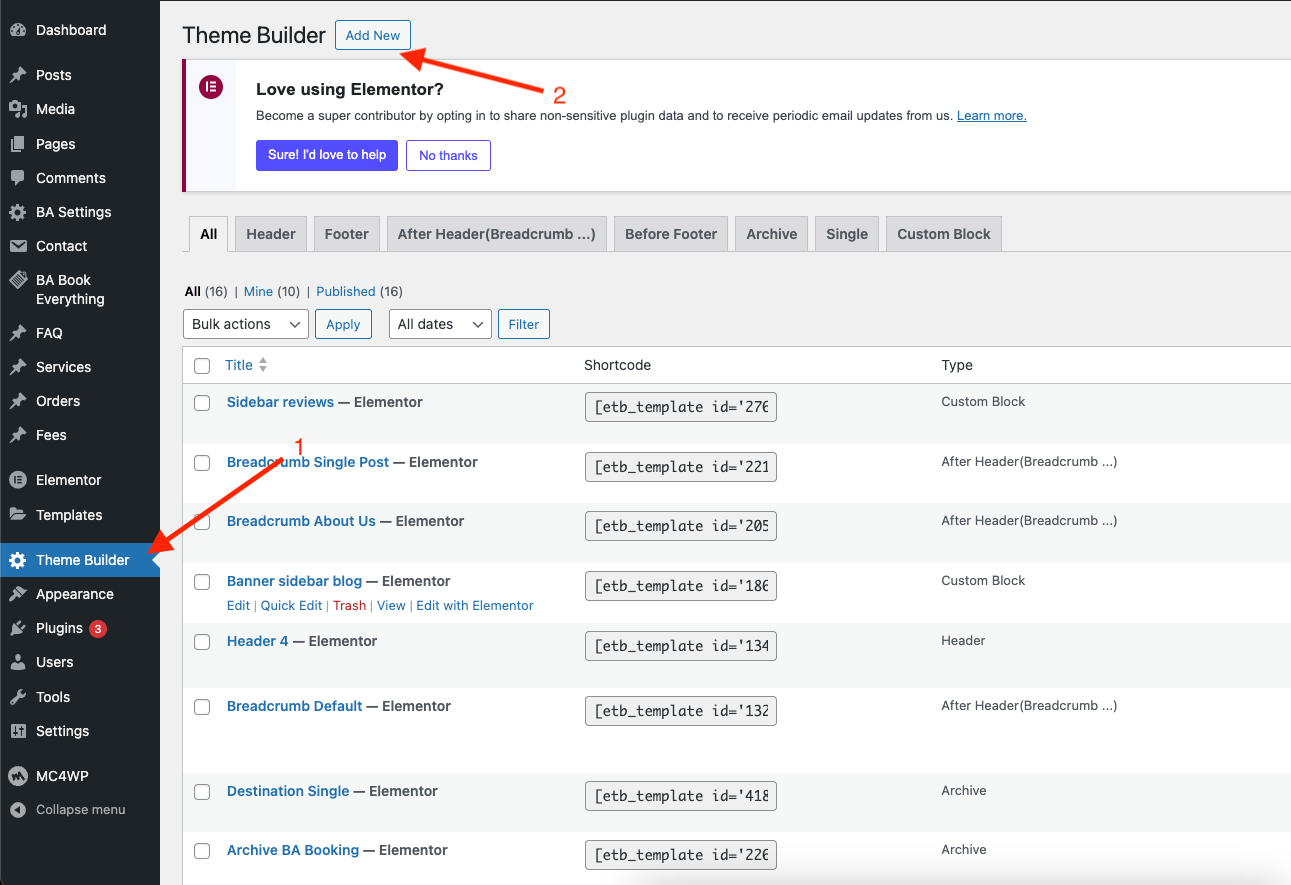
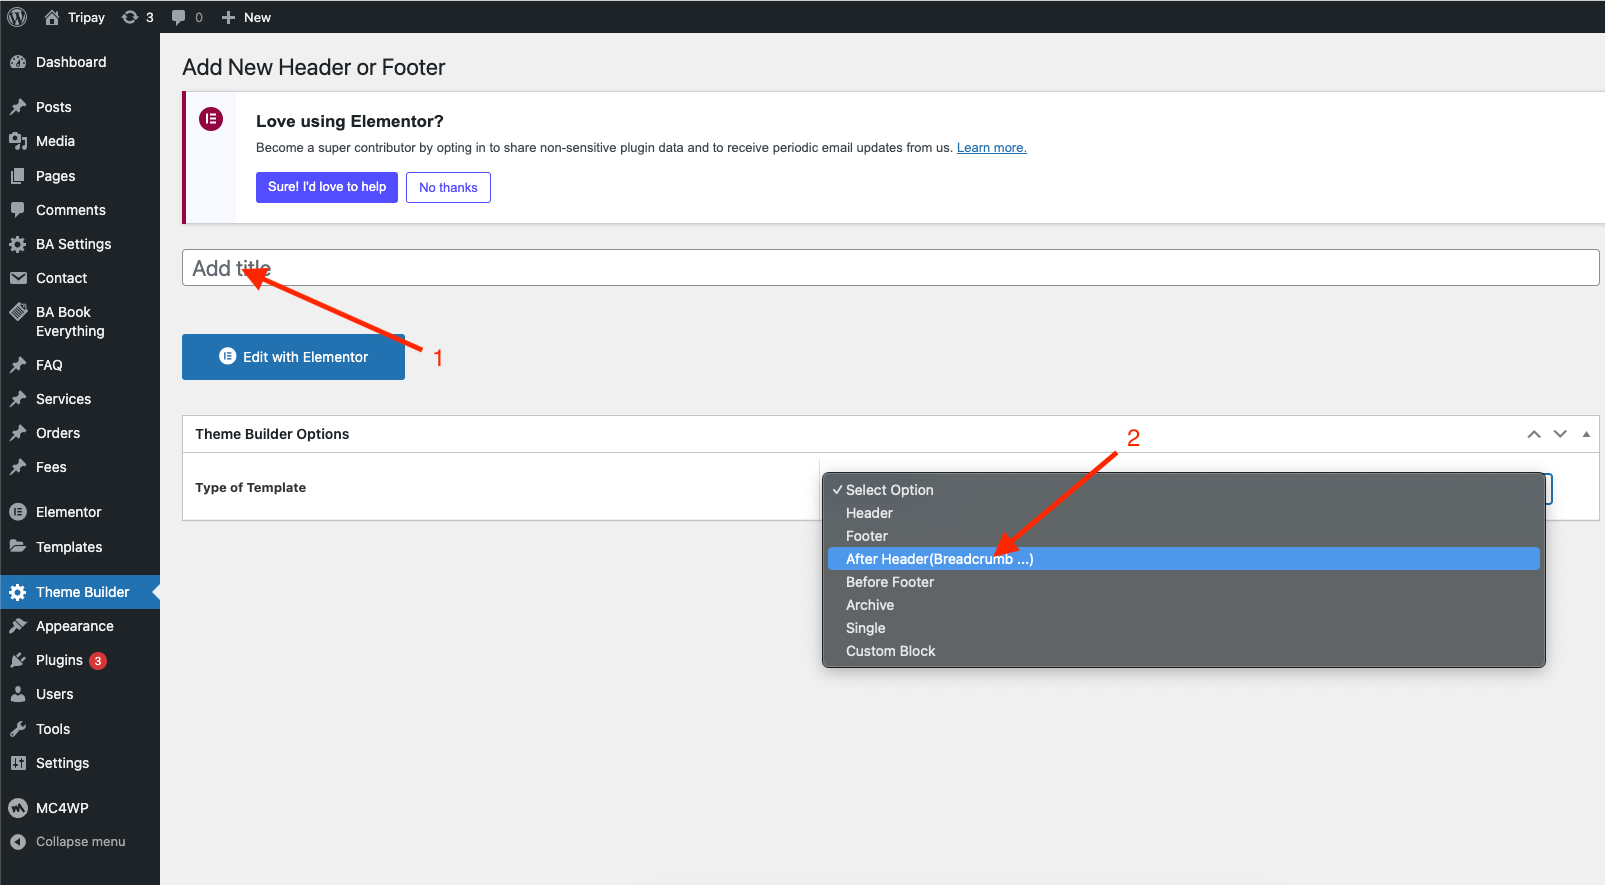
Step 2 Click ‘Add New ’ and Name your Breadcrumb template and click ‘Create Breadcrumb’ and 'update'.
Step 3 - Drag or drop the element that you want to build your template style with a limited layout

After all, click "Update" for settings.
Step 4 - Set up Feature Image
Go to WordPress Dashboard
After logging in, you need to select the post or page where you want to add the image feature. You can find a list of posts and pages in the "Posts" or "Pages" menu.

Once you've selected the post or page, click the "Edit" button to open the editing page.

In the edit page, you will see a button called "Set featured image" or "Set featured image". Click this button to open the photo selection window.

In the photo selection window, you can select a photo from your photo library or upload a new photo. After selecting a photo, click the "Set as feature photo" button to set it as a feature photo.

Finally, click the "Save" button to save your changes. The feature image will be displayed in the breadcrumb of your article.

Step 5 - Set up Breadcrumb
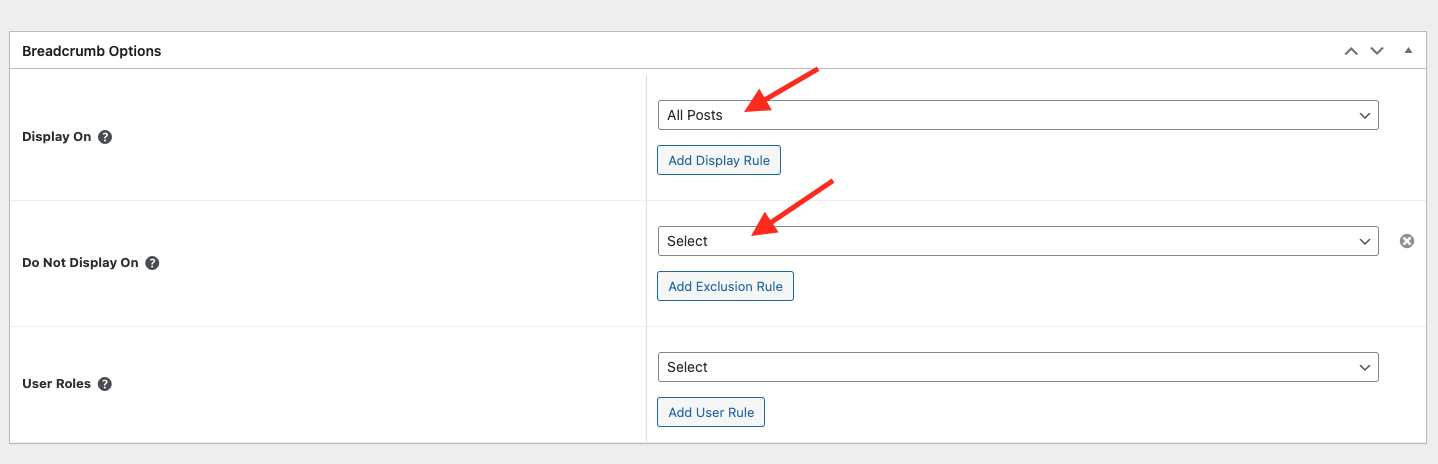
Choose tab Breadcrumb and you can add the template that has been created to the page.
Edit the display of your Breadcrumb Template that can add the created template to the page.
Step 6 Click SAVE & CLOSE
After all, click "Update" for settings.
Last updated